
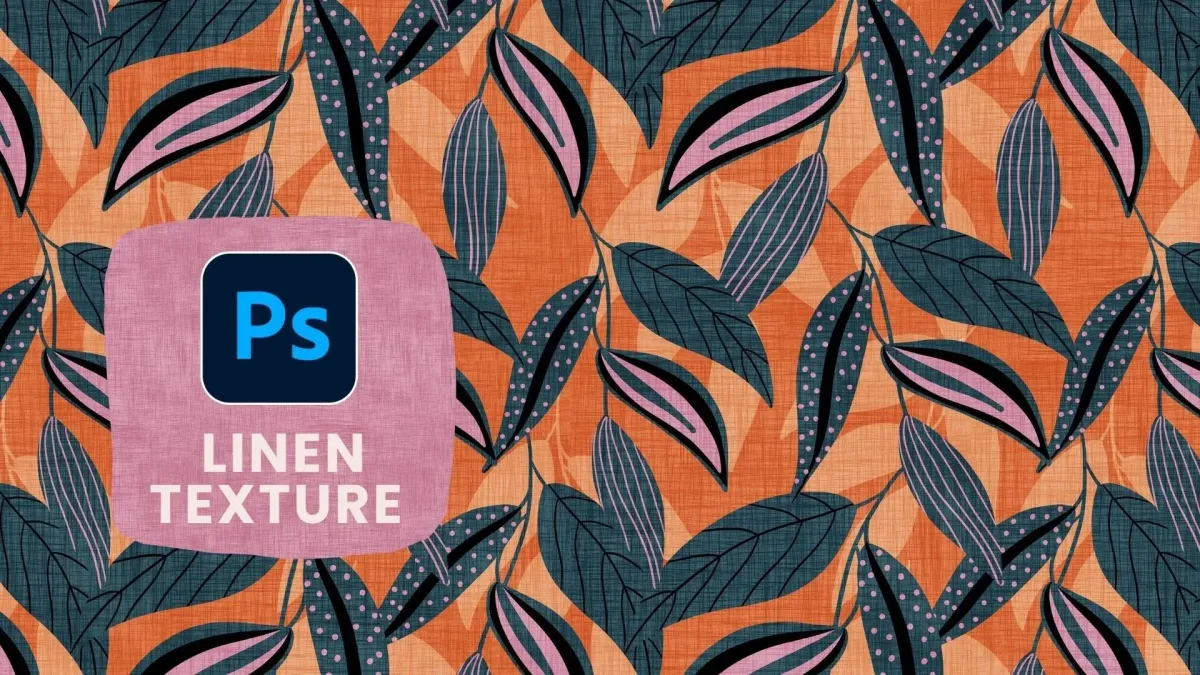
Linen Love: Create Realistic Fabric Texture for Your Patterns in Photoshop
Adding texture to your artwork can significantly enhance its visual appeal. One such texture that's gaining popularity among designers is the linen texture. It adds a layer of depth and realism to patterns, making them stand out. If you're keen to incorporate this aesthetic into your projects, you've come to the right place. This guide will walk you through the process of creating a linen texture in Photoshop, from drawing your initial line to applying the texture to your patterns.


Check out the full tutorial on YouTube here or simply follow the instructions below.
Step 1 - Create a simple line

Begin by opening Procreate or any similar drawing app, even Photoshop and select a dark colour. Choose the 6B pencil (or something similar) from the sketching brush library and draw a straight line down your canvas. You can snap the line into place and add a taper at both ends to give it a more organic look. Once satisfied, export this line as a PNG to your computer, ensuring the background layer is turned off.
Step 2 - Convert Your Line into a Photoshop Brush

In Photoshop, open your exported line drawing. Use the Rectangular Marquee Tool to select your line and navigate to Edit > Define Brush Preset to turn it into a brush. Name your brush accordingly, for example, 'Pencil Line.' This new brush will serve as the foundation for your linen texture.
Step 3 - Adjust Brush Settings for the Linen Effect

With your new brush created, it's time to adjust its settings to mimic the linen texture. Go to the Brush Settings panel and modify the following:
Brush Dynamics: increase the size jitter to around 78%, adjust the angle jitter to a subtle 1%, set the roundness to approximately 76%, and ensure the flip X jitter and flip Y jitter are turned on.
Scattering: increase the scatter to around 300% and the count to 2
Duel Brush: select a simple dot brush and ensure all the sliders are set to 0 or as low as they will go.
These adjustments help in creating the uneven, organic feel characteristic of linen.
Step 4 - Create the Linen Texture Pattern
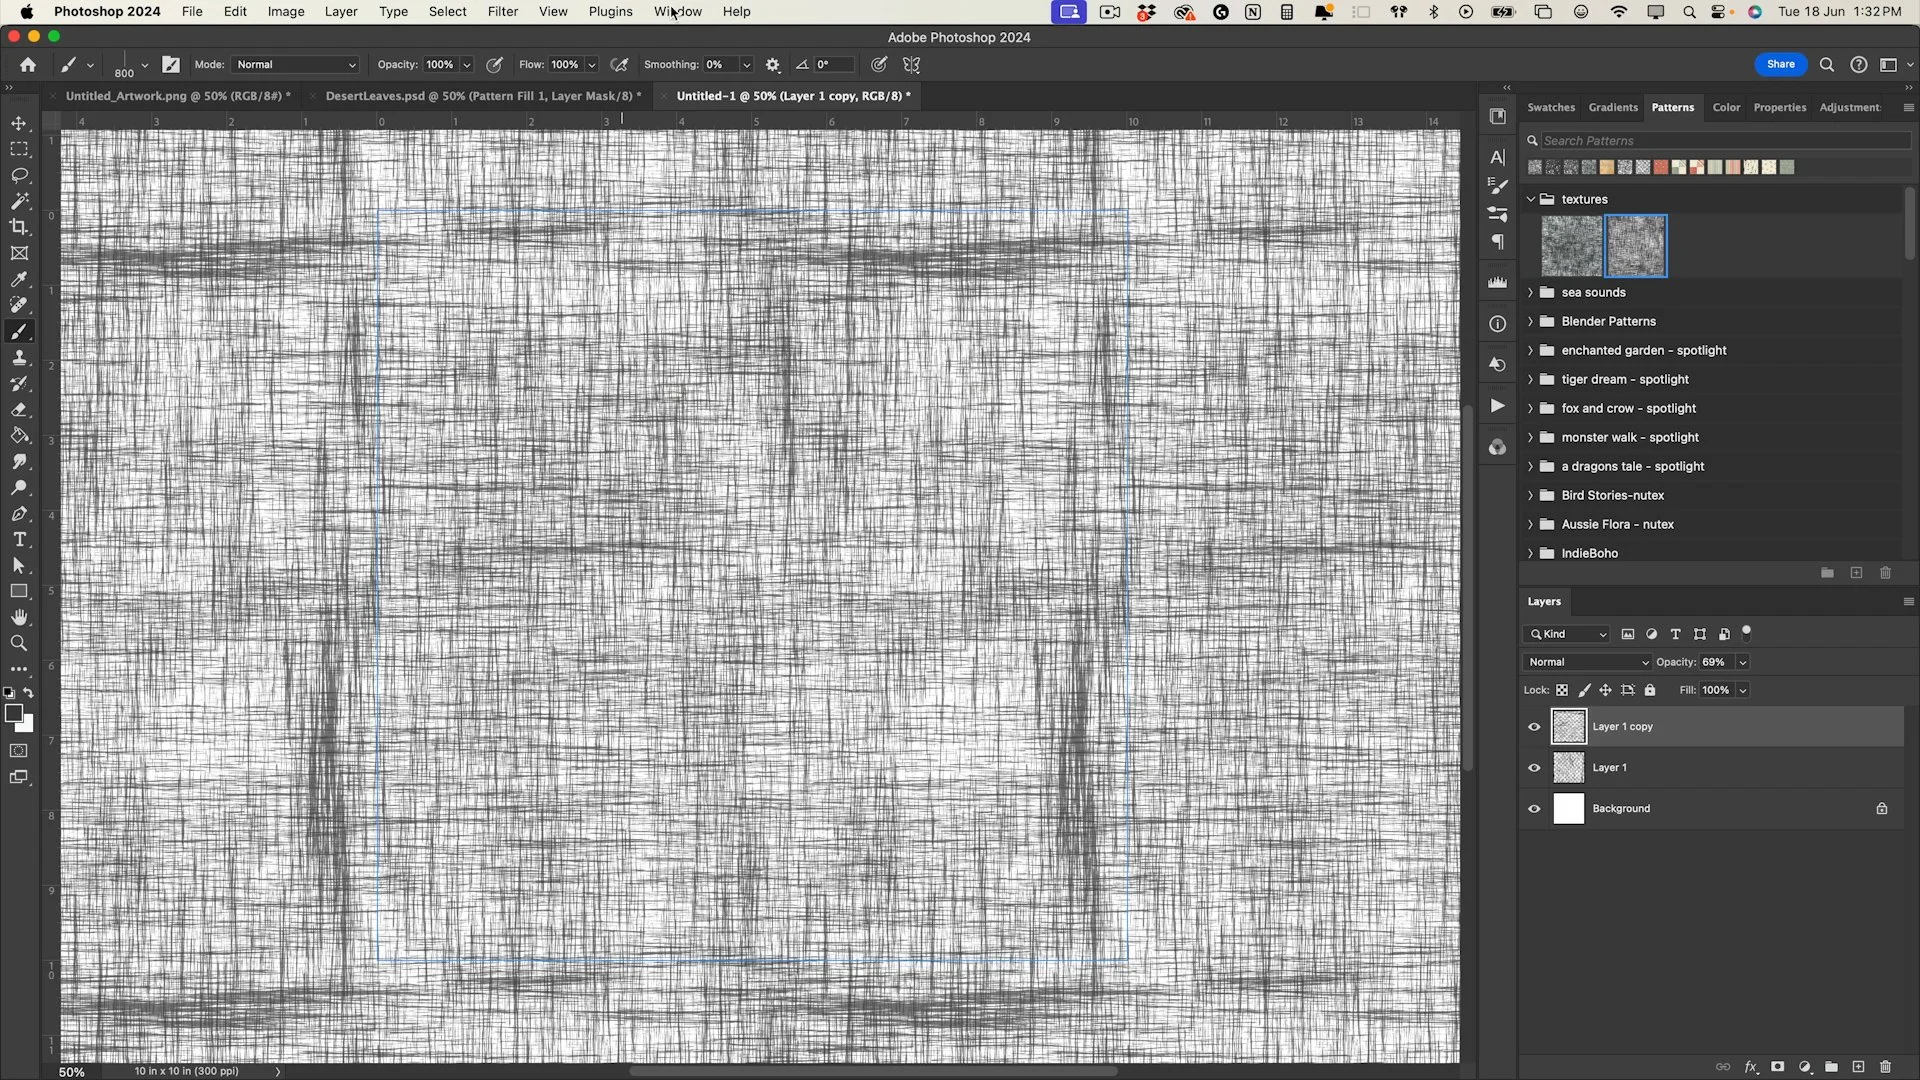
Create a new document in Photoshop, ideally the same size as your usual pattern work. Activate the pattern preview and create a new layer above the background. Using your newly adjusted brush, paint across the canvas to create your linen texture. Be mindful of keeping some inconsistencies for a more natural look. Duplicate your painted layer and use the transform tool to align it horizontally, adjusting layer opacity as needed to reduce intensity.
Step 5 - Apply Your Linen Texture to Patterns

Finally, add your linen texture to the patterns panel by clicking the plus sign. When applying the texture to your designs, experiment with different blending modes like Soft Light or Overlay to achieve the desired effect. Adjust opacity to control the texture's intensity. Remember, this texture is repeating, so it should seamlessly integrate with your pattern dimensions.
By following these steps, you can create and apply a beautiful linen texture to your digital designs in Photoshop. This technique not only enhances the visual depth of your work but also gives it a unique, tactile quality. Happy creating!